
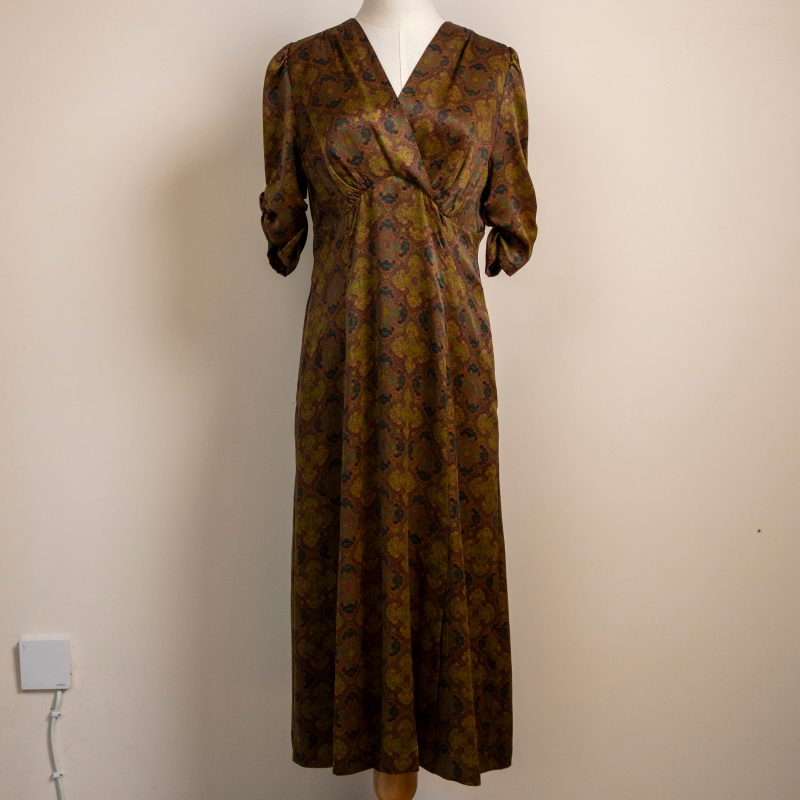
Techniques for ironing and shaping the collar of a handmade cheongsam
Why the Mandarin Collar Is the Hardest Part to Iron
The mandarin collar on a handcrafted silk cheongsam is the most delicate structural element of the entire garment. Unlike the flat body panels, the collar is thick, curved, and often reinforced with interfacing to keep it standing upright. This density means it holds heat much longer than the rest of the silk, making it the number one spot for scorch marks and shiny patches. If you press a hot iron plate directly onto the collar, the outer silk will melt almost instantly, creating a flat, glassy streak that ruins the natural luster. The trick is to treat the collar as a separate entity from the rest of the dress, using lower heat, more steam, and a specific shaping technique to keep it stiff yet smooth without burning the fabric.
Using a Sleeve Roll for Perfect Curves
You cannot iron a curved collar on a flat ironing board effectively because the round shape creates gaps where the fabric pulls away from the heat. To fix this, you need to create a custom shape that matches the collar’s curve. Take a clean, dry sock or a small roll of cotton batting and insert it inside the neck opening of the cheongsam. This fills out the collar, pushing the fabric outward so it becomes round and taut, just like it would be around a neck. Dampen a thin white cotton cloth and lay it over the collar. Press the iron on the lowest silk setting, gliding it slowly along the curve of the roll. The roll supports the fabric from the inside, ensuring the heat reaches every part of the curve evenly without creating flat spots or creases at the edges.
The “Pinch and Press” Method for Sharp Edges
The top edge of the mandarin collar needs to be razor-sharp to look authentic. After you have smoothed out the main body of the collar with the sleeve roll method, remove the roll and fold the collar edge down slightly onto a clean cloth. Use your thumb and index finger to pinch the very top edge of the collar, holding it taut against the cloth. Press the cool iron tip gently along the pinched edge for just one second. This “pinch and press” technique sets a permanent, sharp crease right at the rim. Be extremely careful not to let the iron plate touch the outer silk directly; the cloth barrier is mandatory here. If the edge starts to look shiny, stop immediately and let it cool.
Handling the Frog Buttons and Knots
The frog closures (pankou) at the throat are usually made of thick cord or rolled silk, which reacts to heat differently than the flat collar fabric. These knots are dense and trap heat, so they can easily melt or flatten if you use too much power. Never run the iron plate over a frog button. Instead, use the vertical steam function. Hold the iron about three centimeters above the knot and release a strong burst of steam for two seconds. The steam relaxes the stiff cord enough to let you reshape the knot with your fingers. If the knot is frayed or loose, use a tiny drop of clear fabric glue on a toothpick to fix it before you steam it, as heat will set loose threads permanently.
Cooling the Collar to Set the Shape
Once the collar is smooth and crisp, do not move the cheongsam right away. The collar needs to cool down while it is being held in shape, otherwise the silk fibers will spring back to their wrinkled state the moment you take the iron away. Leave the damp cloth on the collar and let the garment sit on the board for at least five minutes. If you used the sleeve roll, leave the roll inside while it cools. This cooling period “locks in” the new shape. After it is completely cool, remove the roll and check the collar stand. It should be upright, smooth, and free of any shine marks. If you see a faint wrinkle near the base of the collar, give it one final quick blast of steam and smooth it with your finger while it is still warm.