
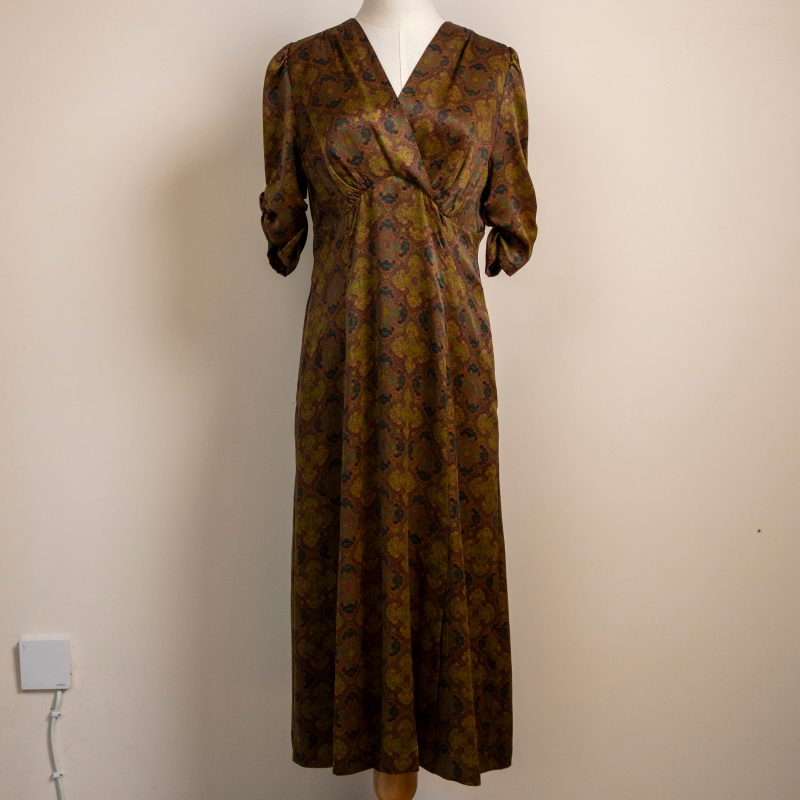
Techniques for Preventing Damage to Hand-Embroidered Chinese Embroidered Gowns During Drying
How to Air Dry Your Handcrafted Embroidered Cheongsam Without Tearing the Stitches
Embroidery is what makes a handcrafted cheongsam worth preserving. But it is also the first thing to get destroyed during drying. The threads pull, the beads shift, the raised motifs press into the wet silk and leave permanent dents. Most people do not realize the damage is happening until they pick up the cheongsam after drying and notice the embroidery looks puckered, loose, or crooked.
Drying an embroidered cheongsam requires a completely different approach than drying a plain silk one. The rules change. The methods change. The patience required doubles. But the results are worth it — a cheongsam that dries with every stitch intact and every bead in place.
Why Embroidery Gets Destroyed During Normal Drying
The Weight Problem With Beads and Threads
Embroidery adds weight to specific areas of the cheongsam. A cluster of beads along the collar can weigh three to five times more than the same area of plain silk. A dense floral motif on the chest carries similar extra load. When the cheongsam is wet, the silk is soft and offers no resistance. Those heavy areas sink into the fabric and pull everything around them downward.
Over a few hours of hanging or even flat drying, this pulling force stretches the silk around the embroidery. The stitches elongate. The threads loosen. The beads tilt. By the time the cheongsam dries, the embroidery sits lower than it should, the surrounding silk is saggy, and the whole garment looks like it has been worn for years.
Differential Drying Between Embroidery and Base Fabric
Embroidery threads — especially silk and rayon ones — absorb and release water at a different rate than the base fabric. The threads are thicker, denser, and often coated with sizing or wax to keep them from fraying. That coating slows down water release.
So while the base silk dries and starts to stiffen, the embroidery threads are still wet and soft. This mismatch creates tension. The drying base fabric pulls tight while the wet embroidery resists. The result is puckering — the fabric around every embroidered section wrinkles and distorts. Once that puckering dries in, it is permanent. No iron, no steamer, no amount of pulling can flatten it back out.
Preparing the Embroidery Before You Even Start Drying
Checking Every Stitch Before the Wash
Before you wash an embroidered cheongsam, lay it flat on a clean white surface and go over every embroidered section with your fingers. Look for loose threads, cracked beads, or areas where the embroidery is already lifting from the base fabric.
If you find a loose thread, do not cut it. Tuck it back into the stitch line gently with a needle. If a bead is wobbly, reattach it with matching thread. If the embroidery is fraying at the edges, trim the loose fibers carefully with small scissors.
Doing this before washing prevents the problem from getting worse during the wash and drying cycle. A loose thread that gets pulled during drying can unravel an entire motif. Fixing it now takes thirty seconds. Replacing it later takes hours.
Mapping the Heavy Areas
Run your hands over the cheongsam and note where the heaviest embroidery sits. The collar, the front placket, the side slits, the cuffs — these are the usual suspects. Mark these areas mentally or with small pins so you remember to give them extra support during drying.
The heavy areas need different treatment than the rest of the garment. They need support from below so they do not sink into the wet silk. They need slower drying so the threads do not shrink faster than the base fabric. They need protection from any direct pressure.
The Only Safe Drying Method for Embroidered Cheongsam
Flat Drying With Targeted Support
Hanging an embroidered cheongsam is risky. The weight of the beads pulls the fabric down unevenly, and there is no way to counteract that force when the garment hangs vertically. Flat drying eliminates gravity as a distortion force and gives you control over every section.
Lay the cheongsam face down on a clean, flat, dry towel. The outer surface — the side with the embroidery — presses into the towel. This protects the raised details from being crushed by their own weight.
Before you lay it down, roll thin towels into tubes and place them underneath the heavy embroidery areas. The collar, the front opening, the side slits — anywhere beads or dense stitching adds weight. The rolled towels provide gentle upward support so the embroidery does not sink into the wet silk.
Smooth the cheongsam out completely. Make sure no part of the embroidery is folded over itself. Every fold under a bead or thread cluster will dry as a crease.
The Tissue Paper Shield for Raised Motifs
For cheongsam with large, raised embroidery — think peonies, dragons, phoenixes — place a sheet of unbleached tissue paper over the motif before laying it face down. The paper acts as a barrier between the raised threads and the towel below.
Without the paper, the beads and thick threads press directly into the wet silk and leave permanent indentations. The paper distributes the pressure evenly so the embroidery sits on top of something instead of crushing into the fabric.
Secure the paper lightly with a few pins at the edges if it keeps sliding. Do not press down hard. The paper should rest on the embroidery, not compress it.
Remove the paper after six to eight hours. Leaving it on too long traps moisture under the paper and slows drying in those areas, which invites mildew on the embroidery threads.
Managing the Drying Process Hour by Hour
The First Four Hours: Do Not Touch Anything
After you lay the cheongsam flat, leave it alone for at least four hours. During this time, the heaviest water drains from the fabric into the towel below. The cheongsam will feel noticeably lighter.
Do not flip it. Do not adjust the rolled towels. Do not check on the embroidery. Every time you disturb the surface, you risk creating new wrinkles or shifting the beads.
Flipping at the Six-Hour Mark
After six hours, carefully flip the cheongsam so the outer surface faces up. The embroidery should now be facing the air. This allows the embroidery threads to dry at the same rate as the base fabric instead of being trapped against the towel.
When you flip it, check the rolled towels underneath. Reposition them if they have shifted. Make sure every heavy area still has support. If the tissue paper is still in place, remove it now — the embroidery has dried enough to handle direct air exposure.
The Twelve to Twenty-Four Hour Window
Between twelve and twenty-four hours, the cheongsam should be about 70 percent dry. The thin areas — the hem, the cuffs, the collar edges — will be dry first. The thick embroidered sections will still feel slightly damp.
This is normal. Do not speed it up. If you notice any embroidery area drying faster than the surrounding fabric, place a dry towel over that section to slow it down. Uneven drying between the embroidery and the base fabric is what causes puckering.
What to Do When the Embroidery Starts Pulling Away From the Fabric
Catching It Early Saves the Stitch
Sometimes, despite your best efforts, the embroidery starts to lift or pull away from the base fabric during drying. You will notice this as small gaps appearing between the edge of the motif and the silk. If you catch it early, you can fix it.
Dampen a clean cloth with cool water. Lay it over the lifting area. The moisture relaxes the silk fibers and lets them shrink back toward the embroidery. Hold it there for fifteen to twenty minutes, then remove the cloth and let it dry. The silk should re-adhere to the embroidery as it dries.
If the embroidery has already pulled away significantly — more than a few millimeters — do not try to push it back. That will break the stitches. Take the cheongsam to a professional restorer who can re-stitch the detached sections without damaging the surrounding fabric.
When Beads Start Shifting
Beads shift when the fabric sags under their weight. If you notice beads moving out of position during the drying process, do not try to push them back into place while the fabric is wet. You will break the thread holding them.
Wait until the cheongsam is completely dry. Once dry, use a fine needle and matching thread to reposition each bead. Sew it back securely. This is tedious work, but it is the only safe way to handle bead repair on silk.
Common Drying Mistakes That Wreck Embroidered Cheongsam
Using a regular hanger is the fastest way to destroy an embroidered cheongsam. The hanger concentrates weight on the shoulders, stretches the silk, and lets the heavy embroidery pull everything downward. No amount of care afterward can undo that damage.
Drying near a heat source causes the embroidery threads to shrink faster than the base fabric. The mismatched shrinkage puckers the silk around every stitched area. Keep the cheongsam at room temperature, away from radiators, vents, and sunlight.
Rushing the dry with a fan creates uneven drying. The fan dries the exposed edges fast while the thick embroidered sections stay wet. That gap causes the exact puckering you are trying to avoid. Let it dry naturally. It takes longer, but the embroidery stays intact.
Storing the cheongsam while it is still damp — even slightly — is the mistake that undoes everything. Mildew grows first in the embroidery threads because they trap moisture longer than plain silk. By the time you see the damage, the threads have weakened and may snap. Always confirm full dryness by touching the lining and the base fabric near the heaviest embroidered sections.
An embroidered cheongsam is not just a garment. It is hours of handwork stitched into every square centimeter. The drying process is where that work either survives or gets erased. Take the time. Use the right method. Protect every stitch, and the cheongsam will carry those details beautifully for decades.